| First Section Page | Page 3 of 7 | Last Section Page |
Internal Jugular Access
(continued)
Step 5: If necessary, administer additional Lidocaine. Perform skin nick with a straight scalpel blade.
Step 6: Advance dilator/sheath assembly over wire. Using a circular twisting motion, gently slide the dilator/sheath assembly into the skin down to the depth of the vein, keeping control of the wire at all times.
Depending on catheter size, you may need to dilate up to a larger wire. Once dilator/sheath has been inserted, remove the dilator always maintaining control of the guide wire.
Step 7: Slowly thread the catheter over the wire. The wire will exit the distal lumen. Grasp wire. Maintaining control, gently advance catheter to premeasured internal length.
Step 8: Place needleless connectors on each catheter lumen. Clean the insertion site to prepare for dressing and securement. Suture catheter through catheter wings using curved needle or apply sutureless securement device. Apply sterile dressing per facility policy.
Step 9: Confirm catheter terminal tip placement in the superior vena cava (SVC) using x-ray, fluoroscopy or electrocardiogram (EKG), according to facility policy.
Subclavian Access
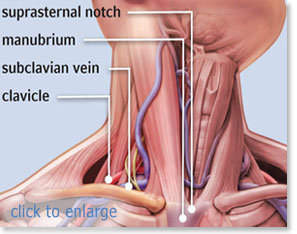
The subclavian insertion procedure carries the highest risk of pneumothorax. This insertion location should not be used for patients with severe coagulopathies. The lower risk of infection is offset by the higher risk of insertion related complications. While ultrasound imaging can be difficult for subclavian insertion, efforts should be made to use needle guided imaging in either the infra or supraclavicular position.
Step 1: After performing a pre-scan, measure from insertion site to the third intercostal space and place the patient in the Trendelenburg position. Perform hand hygiene and establish sterile field. Prep insertion site using Chlorhexidine. Allow to dry. Then, drape patient using maximal sterile barrier precautions.
| |
Page 3 of 7 |